What's in this teardown
- Before you start: what you need at a public charger
- Step 1: Find a charger with an app or your car’s map
- Step 2: Match the station to your car and your stop
- Step 3: Park and plug in the connector
- Step 4: Start the session by app, tap, or plug and charge
- Step 5: Monitor the charge and handle payment
- Step 6: Unplug, stow the cable, and mind the etiquette
- Illustrative public charging speed by station type
- A worked example: one public fast charge on a road trip
- Where the minutes go in a fast-charging stop
- Common mistakes to avoid at public chargers
- Troubleshooting: dead screens, slow charges, and failed payments
- How to use public EV chargers across different networks
- Where you will find public EV chargers day to day
- The public-charging checklist
- The bottom line
Short answer: Using a public EV charger is six moves: find a compatible station in a charging app or your car's map, match its connector and speed to your car, park and plug in, start the session by contactless tap, the network's app, an RFID card or plug and charge, monitor and pay, usually per kWh, then unplug and clear the stall. Know whether your car uses J1772, NACS or CCS1 before you go.
How to use public EV chargers is the question most new EV drivers first ask standing at an unfamiliar stall, low battery blinking, a screen they have never seen in front of them: the one moment of doubt the whole ownership case never warned them about. It is a solved problem, and a small one once you have done it once, but the terms arrive jumbled: which plug, which app, tap or scan, Level 2 or fast, and how do you even pay. This teardown lays the whole thing out as six ordered steps so that your first public session, and every one after, is a plug-in-and-go routine rather than a puzzle.
Read it as the practical companion to our standards map. Where our EV charging reference explains the levels and connectors as a lookup, this article is the doing: how to find a station that fits your car, how to start and pay for a session, and how to leave the stall better than you found it. For what those sessions cost, our public charging cost teardown prices the energy, and for the everyday base load that keeps you off public chargers most of the time, our home charging teardown covers the driveway. This one is for the times you plug in away from home.
Key takeaways
- The flow is always the same six moves: find a compatible station, match it to your car and stop, park and plug in, start the session, monitor and pay, then unplug and clear the stall.
- Know your car's connector before you go: J1772 or NACS for AC, CCS1 or NACS (or legacy CHAdeMO) for DC fast, plus any adapter your routes need during the NACS transition.
- Public charging is either Level 2 (~7 to 19.2 kW, for long stops) or DC fast (~50 to 350 kW, an illustrative 10 to 80 percent in about 20 to 40 minutes for a rest break).
- Start a session by contactless tap, the network's app, an RFID card, or plug and charge where your car supports it; pay per kWh in most places, and watch for idle fees.
- The etiquette that matters most: charge to about 80 percent on a busy fast charger and move, since the slow taper past 80 holds up the queue for little added range.
Before you start: what you need at a public charger
A public session asks for very little preparation, but the little it asks is worth handling before the low-battery warning, not during it. Gather three things. First, your car’s connector facts: which plug it uses for AC charging (commonly J1772 or NACS) and which for DC fast charging (commonly CCS1 or NACS, or legacy CHAdeMO on some older cars), plus its peak DC accept rate, the number that caps how fast any fast charger can fill it. Our charging reference has the full map if you are unsure which your car uses. Second, a way to pay and authenticate: a contactless credit card or phone wallet at minimum, and ideally the one or two network apps that cover your routes, installed and logged in ahead of time. Third, any adapter your car needs, since the NACS transition means a CCS1 car may want a NACS adapter to reach the widest network, and a NACS car may want a CCS adapter for older stalls.
Difficulty here is genuinely low: this is not electrical work, it is closer to using an unfamiliar gas pump or parking meter, and nothing you touch is dangerous when the connector is seated properly. Time is short too, an illustrative few minutes of setup at the stall plus the charging itself, which on DC fast is roughly the length of a coffee break. The one thing that turns a smooth stop into a stressful one is arriving at a station you cannot use, wrong connector, dead stall, or an account you have to create on the spot, so the whole point of this section is to remove those surprises before you drive. Run your own session’s energy and cost through the companion on this page as you read, and price the energy in our cost calculator.
Step 1: Find a charger with an app or your car’s map
The first move happens before you leave, on a screen. Public chargers are operated by networks, the companies that own and run the stations, and the reliable way to find a compatible one is a charging app or your car’s built-in navigation, both of which can filter by connector type and, crucially, by live availability; the DOE Alternative Fuels Data Center’s station locator is a network-neutral map of the same public stations. Open the map, filter to the plug your car uses, and look for a station that is both close to where you want to stop and showing free stalls in real time. Your car’s own route planner is often the best tool on a longer drive, because it knows your battery and can place stops for you, a habit our EV road trip teardown builds into a full workflow.
Read the station details, not just the pin. A good listing shows the connector types, the maximum power per stall, the number of stalls, the current availability, and often recent user reports on whether the stalls actually work, which is worth its weight on a road trip. A four-stall site rated at 150 kilowatts with three stalls free is a very different stop from a single 50 kilowatt stall showing offline, even though both appear as a charger on the map. Favor sites with several stalls, since redundancy is what saves you when one is broken or occupied.
The watch-out here is trusting the pin over the details. A charger on the map is not a promise: it might be a connector your car cannot use, a power level far below what you expected, or a unit that is out of service. Cross-check the connector and the live status before you commit to driving there on a low battery, and on a critical leg, have a backup station in mind. The few seconds of reading the listing is the cheapest insurance in the whole process.
Step 2: Match the station to your car and your stop
Not every public charger suits every stop, and choosing the right kind is what keeps you from waiting an hour for a charge you needed in ten minutes, or paying fast-charging prices for energy a slower stall would have added just as well. Public charging comes in two kinds, the same two the DOE Alternative Fuels Data Center’s public charging page describes. Public Level 2 runs on 240 volt AC at roughly 7 to 19.2 kilowatts and adds an illustrative 25 to 40 miles of range per hour, which fits a stop where the car sits for hours anyway: a workplace, a hotel overnight, a mall, a movie. DC fast charging runs at roughly 50 to 350 kilowatts and adds an illustrative 150 or more miles in about 20 to 40 minutes, which is the option for a road-trip rest break or a quick top-up when you are actually waiting on the car.
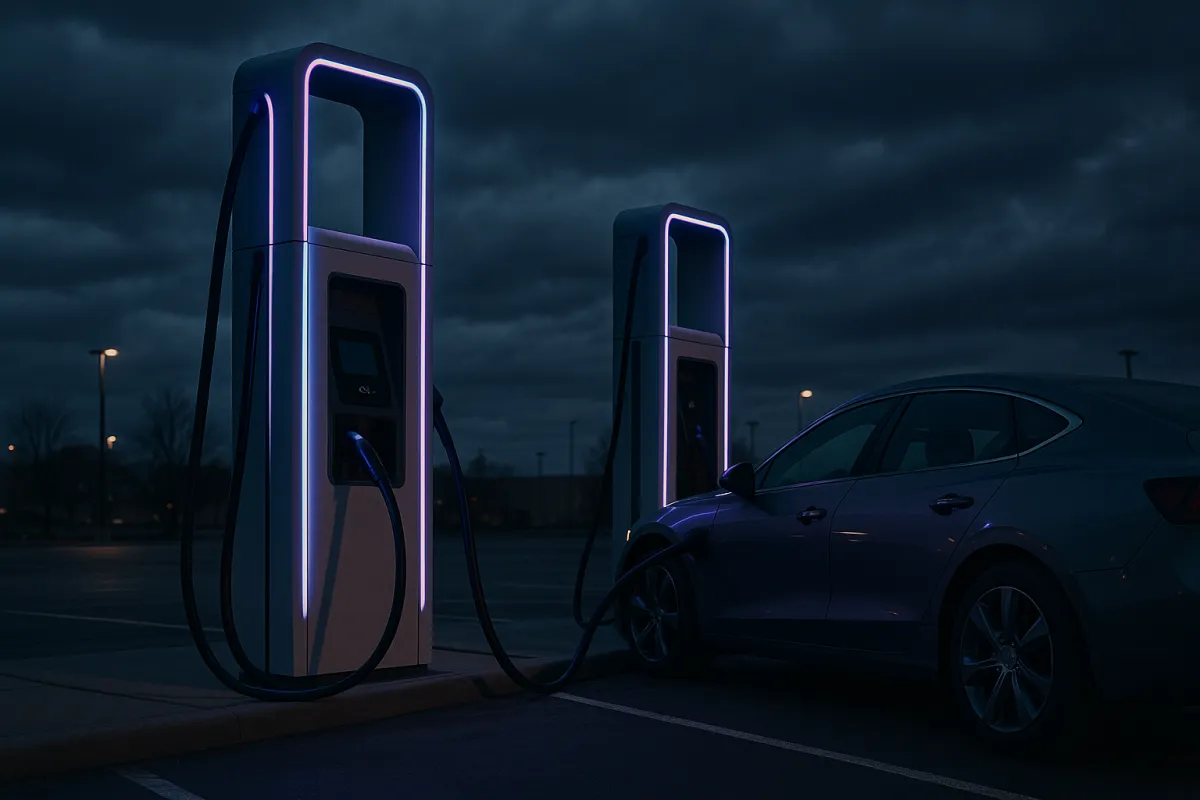
The connector is the other half of the match, and it is a separate axis from the level. Your AC charging uses J1772 or NACS, your DC fast charging uses CCS1 or NACS or legacy CHAdeMO (the DOE Alternative Fuels Data Center’s charging station page defines these connector types), and a single connector like CCS1 or NACS carries both AC and DC, which is why you cannot read the speed off the plug alone. Our charging reference lays out which plug does what. Confirm the stall offers a connector your car (or your adapter) accepts, then confirm the power makes sense for your stop.
One number keeps expectations honest: your car’s accept rate. A stall advertises a maximum power, but you get the lower of that and what your car will take, never more. A car that peaks at 100 kilowatts on DC sees nothing above 100 at a 350 kilowatt stall, and a car whose onboard charger tops out at 7.4 kilowatts charges at 7.4 on a 19.2 kilowatt Level 2 unit. So the fastest stall in the lot is not always worth queuing for if your car cannot use its headroom. Enter your battery and the stall power in the companion to see the realistic time rather than the headline number.
Step 3: Park and plug in the connector
With the right station chosen, the physical part begins, and it is simpler than a gas pump because nothing spills. Pull into the stall so your car’s charge port lines up near the cable, remembering that the port might be at the front, rear, or side depending on the car, and that the cables are short and heavy, so the alignment matters. Do not straddle two stalls or park so the cable stretches taut across a neighboring space, since a cable under tension can unseat and blocks the next driver. Put the car in park, and on many EVs shift fully to park before the charge port will unlock.
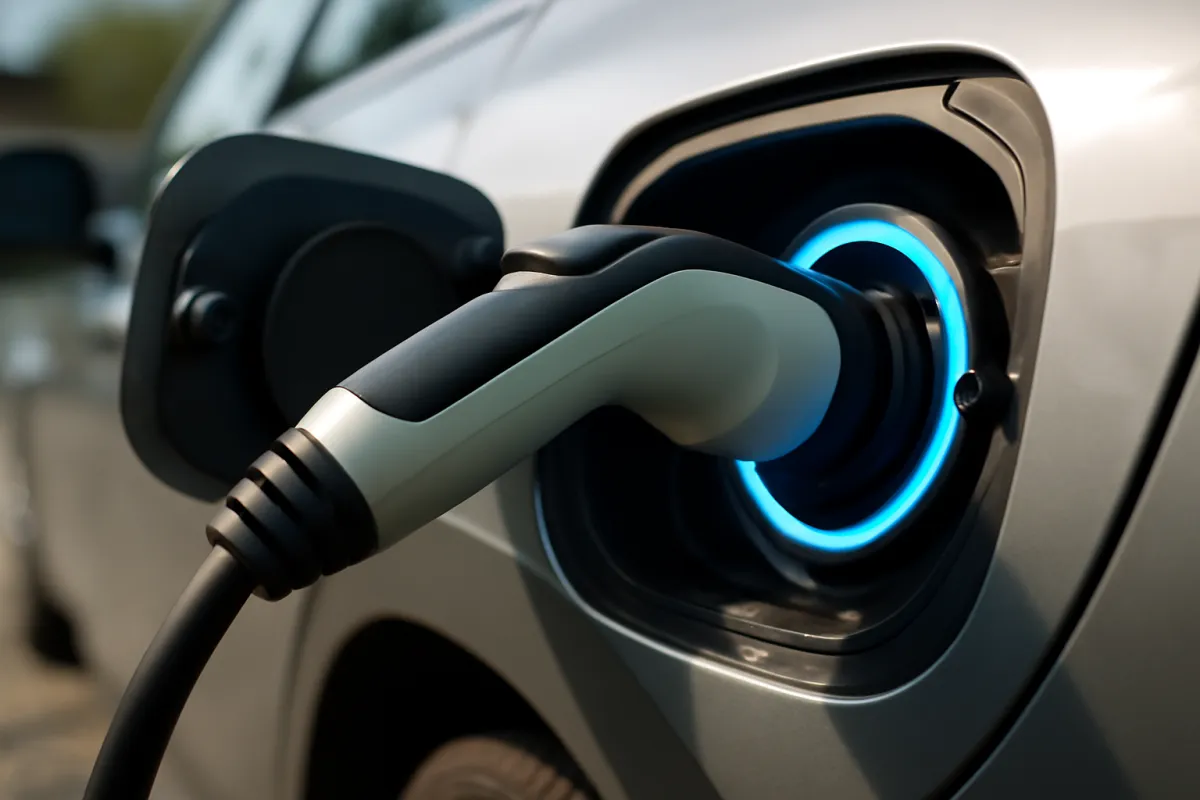
Open the charge port, using the car’s button, the app, or a push on the port door depending on the model, and lift the connector off its holster on the station. Line it up with the port and push it in firmly and straight until it seats with a click and, on most cars, a light on the port or dash confirms the lock. The connector is keyed so it only goes in one way, so if it resists, check the alignment rather than forcing it. On DC fast chargers the connector is larger and heavier because it carries the extra DC pins, so support its weight as you seat it. The car will typically lock the connector in place during the session so it cannot be pulled out mid-charge, which is a safety feature, not a jam.
The watch-out is a connector that looks in but is not fully seated, which is the single most common reason a session fails to start. If the station does not begin authenticating within a moment of plugging in, unplug and reseat firmly before assuming anything is broken. Keep the connector and port clean and dry, and never plug in a visibly damaged cable or a port with debris in it. Once it clicks home and the light confirms, you are ready to start the session.
Step 4: Start the session by app, tap, or plug and charge
Plugging in does not always start the charge: most public stations require you to authenticate first, which is the step that tells the network who to bill. There are four common ways, and the station’s screen will point to the ones it supports. The simplest is a contactless tap of a credit card or phone wallet at the stall’s reader, exactly like paying at a store, which a growing number of newer stations accept with no account at all. The second is the network’s app: you open it, select the station and stall on the map or scan a QR code printed on the unit, and press start. The third is an RFID membership card some networks sell, which you tap to the reader. The fourth, where your car supports it, is plug and charge.
Plug and charge is the smoothest of the four when it works. It is a standard where your car identifies and authorizes itself to the station over the cable the instant you plug in, using a pre-registered account, so no tap, card, or app is needed at all: you park, plug in, and the session simply begins. Support depends on your car, the network, and a one-time setup, and it is spreading but not universal, so enable it where you can and keep a card or app as backup. However you start, watch the station screen or your car’s display confirm that power is flowing, usually within a minute, showing the kilowatts climbing.
The watch-out is assuming the session started when it did not. A stall can appear plugged in yet sit idle because the authentication timed out, the payment was declined, or the connector was not fully seated. Wait for positive confirmation, a rising power figure and a charging status, before you walk away, because coming back in twenty minutes to a car that never charged is the classic road-trip setback. If it will not start, the fixes in order are: reseat the connector, try a different payment method, or move to a neighboring stall, which is faster than troubleshooting a single unit. None of your energy flows until this gate clears.
Step 5: Monitor the charge and handle payment
Once power is flowing, the car does the work, but a few minutes of attention pays off. Most stations and car apps show you the live power, the state of charge, and an estimated time to your target, and it is worth a glance to confirm the session is delivering the speed you expected. On DC fast charging, the power will not hold at its peak: it tapers as the battery fills, gently at first and then sharply above roughly 80 percent, so the last stretch to full can take as long as everything before it. That taper is why the standard road-trip move is to charge to about 80 percent and drive on, treating the fast charger like a quick fuel stop rather than a full tank.
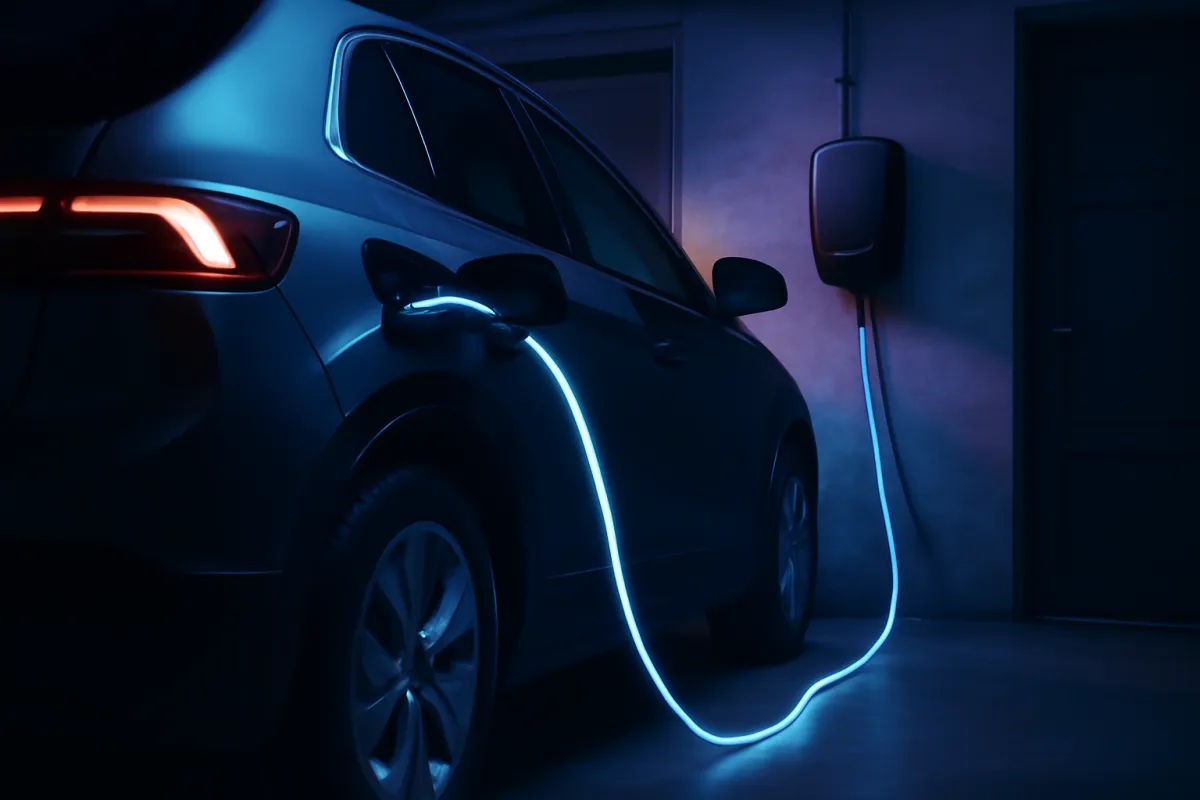
Payment mostly takes care of itself once the session is running. Billing is per kilowatt-hour of energy delivered in most places, so your cost is simply the energy you add times the rate, though some stations bill per minute and many add an idle fee that starts once charging is complete but your car is still occupying the stall. The app or the tapped card settles the charge automatically when the session ends. Confirm the pricing shown on the screen before you start, since public rates are illustrative and vary widely: our public charging cost teardown covers how those rates compare to home charging, where the same miles cost a fraction as much.
The watch-out is the idle fee and the taper together. Leaving your car plugged in and parked after it hits your target, especially past 80 percent where charging has slowed to a crawl, is how a cheap session turns expensive and how you hold up the driver waiting behind you. Set a target on the car or in the app, and plan to return when it is reached rather than when you happen to finish your coffee. The companion on this page shows your session’s energy, time, and cost so you can see where 80 percent lands before the taper eats your minutes.
Step 6: Unplug, stow the cable, and mind the etiquette
Ending a session cleanly is the step new drivers forget and experienced ones treat as reflex. First, stop the session properly, which on most stations means pressing stop on the screen or in the app, or on some cars simply unlocking the car, before you pull the connector. The car locks the connector during charging, so if it will not come out, stop the session or unlock the car first rather than yanking it. Once released, pull the connector straight out, close your charge port door, and hang the cable neatly back on the station’s holster so it does not lie on the ground where it gets driven over or rained on. Confirm the session shows ended and, if you used an app, that the final charge looks right.
Then the etiquette, which is what keeps public charging pleasant for everyone and matters most at busy fast chargers. The core rule is to treat a fast charger as a fuel stop, not a parking space: charge to what you need, usually about 80 percent where the taper slows things, and move your car so the stall frees up for the next driver. Do not unplug someone else’s actively charging car unless the network explicitly permits it and the car is clearly finished. Do not idle in a charging space when you are not charging, and on a busy corridor resist the urge to top to 100 percent while others wait, since the slow final stretch adds little range for a lot of the queue’s time.
A few smaller courtesies round it out. Pull in so your cable reaches without blocking the neighboring stall, report a broken unit through the app so the network can fix it, and leave the connector holstered and the area as tidy as you found it. None of this is enforced by anything but goodwill, which is exactly why it matters: the public charging network runs on drivers being decent to the next person in line. Do these six steps a few times and the whole thing becomes automatic, a two-minute routine bookending a coffee break.
Illustrative public charging speed by station type
The single biggest driver of how long your stop takes is the station’s power, and lining the public options up by raw kilowatts shows why the choice in step two matters so much. Every bar below is an illustrative power figure, the number that sits in the denominator of the charge-time formula, so a longer bar means a faster charge, up to whatever your own car will accept.
Illustrative public station power by type, kilowatts
Typical power delivered, from a public Level 2 unit to a high-power DC fast stall. Your car's accept rate caps what you actually receive.
Widths are the raw ratio of kilowatts against a 350 kW peak. A public Level 2 stall is a sliver beside DC fast power, which is why it belongs to long stops rather than quick ones, though your car's accept rate sets the real ceiling.
The chart makes the practical rule visible: choose DC fast when you are waiting on the car and Level 2 when the car is waiting on you. But raw power is only half the story, because your car’s accept rate caps what you receive, so a car that peaks at 100 kilowatts gets no benefit from the 350 kilowatt stall beyond 100. Read the chart as the ceiling the station offers, then apply your own car’s limit to find the speed you will actually see. Our charge-time breakdown works that math in full, and the companion on this page runs it for your battery and stall.
A worked example: one public fast charge on a road trip
Tie the six steps together with one stop. Say you are driving an EV with a 60 kilowatt-hour battery and a peak DC accept rate around 150 kilowatts, you are down to 20 percent on a road trip, and you want to reach 80 percent to comfortably make the next leg. Step one: forty miles out, you filter your car’s route planner to your connector and pick a four-stall 150 kilowatt site showing three stalls free, with a backup site ten minutes further in case. Step two: it is DC fast, it offers your connector, and 150 kilowatts matches your car’s accept rate, so it is the right stall for a rest break.
Step three: you pull in so the port lines up, shift to park, open the port, and seat the connector until it clicks and the light confirms the lock. Step four: the car supports plug and charge on this network, so the session starts on its own within a few seconds, the screen showing power climbing toward 150 kilowatts, and you confirm it is charging before walking in for a coffee. Adding from 20 to 80 percent on a 60 kilowatt-hour battery is about 36 kilowatt-hours, which at an effective 150 kilowatts is under 20 minutes of raw math before the taper near the top slows the final few percent, so you plan on roughly a 20 to 25 minute stop.
Step five: you glance at the app once, see the power beginning to taper as you near 80 percent, and time your return for the target rather than the bottom of the cup. At an illustrative public fast-charging rate the 36 kilowatt-hours might cost noticeably more than the same energy at home, which is exactly the trade our cost teardown quantifies, and which is why home charging carries the ownership case in our EV value math. Step six: you stop the session, unplug, holster the cable, and pull out so the waiting car can take the stall. Total added: roughly 120 miles of range in about the length of a break. Run your own battery, target, and stall through the companion to see your version of this stop, and price the energy in our calculator.
Where the minutes go in a fast-charging stop
It helps to see that the charging itself is only part of a public stop, because the non-charging minutes are where good habits save you and the next driver time. The illustrative breakdown below shows how the minutes of a typical DC fast-charging stop divide up, from pulling in to pulling out.
Where the minutes go in a typical DC fast-charging stop
Illustrative share of a roughly 25 minute stop, from arrival to departure.
Illustrative shares summing to 100 percent. Active charging dominates, but the plug-in and unplug slices are where seating the connector properly and clearing the stall promptly keep the whole stop short for you and the next driver.
The shape is the lesson: most of the stop is the car charging, which you spend elsewhere, and the human parts at each end are quick when they go smoothly and slow when they do not. A connector that will not seat, a session that will not start, or a car left plugged in past its target are the failures that stretch the two small slices into the whole delay. The six steps are built to keep those slices small. On a busy corridor, the difference between a driver who charges to 80 and moves and one who nurses to 100 is felt directly by everyone in the queue behind them.
Common mistakes to avoid at public chargers
The failures at public chargers are rarely the electrons; they are preparation skipped or habits missed. These are the ones that cost real time, money, or goodwill.
- Arriving without knowing your connector. Driving to a station on a low battery only to find it does not offer your plug, or that you left the adapter at home, is the avoidable disaster. Confirm your car’s connector and carry any adapter your routes need before you go.
- Trusting the map pin over the live details. A charger on the map may be the wrong power, the wrong connector, or out of service. Check the connector, the power, and the live availability, and have a backup station on a critical leg.
- Walking away before the session confirms. A plugged-in car that never authenticated charges nothing. Wait for a rising power figure and a charging status before you leave, or you return to a dead battery and a lost half hour.
- Charging past 80 percent on a busy fast charger. The taper means the last stretch adds little range for a lot of time, and it holds up the queue. Charge to what you need and move, and save the full top-up for a quiet stall or a Level 2 stop.
- Ignoring idle fees. Leaving the car parked in the stall after charging finishes racks up idle charges on many networks and blocks the next driver. Set a target and plan to return when it is reached.
- Leaving the cable on the ground. A connector dropped rather than holstered gets driven over, rained on, and damaged for the next person. Hang it back on the station every time.
Troubleshooting: dead screens, slow charges, and failed payments
What if the station screen is dark or frozen? Try waking it with a tap or a card, and if it stays dead, move to another stall rather than troubleshooting a broken unit, then report it in the app so the network can fix it. A multi-stall site is exactly why you favored one in step one. A single offline unit is an annoyance; a single offline site with no backup is why you kept a second station in mind.
What if the session will not start after you plug in? Work the fixes in order. Reseat the connector firmly, since a plug that is not fully home is the most common cause. If it still will not start, try a different payment method, a tap instead of the app or the reverse, because a declined card or a timed-out authentication looks identical to a hardware fault. If neither works, move to a neighboring stall, which is faster than diagnosing one unit. Only after those three should you assume the station itself is the problem.
What if the charge is slower than the stall’s rating? Nine times in ten the ceiling is your car’s accept rate, not the station, so a 350 kilowatt stall feeding a car that peaks at 100 delivers 100. A cold battery also fast-charges slower until it warms, which is why many EVs precondition the pack on the way to a charger, a habit our range teardown covers, and charging naturally tapers as you climb past 80 percent. Check your car’s peak rate and its state of charge before suspecting the hardware. What if payment fails at the end? The app usually retries and emails a receipt; if a charge looks wrong, the network’s support can correct it, so keep the session record rather than assuming the worst.
How to use public EV chargers across different networks
How to use public EV chargers gets asked in the plural for a reason: you will not charge on one network, you will charge on several, and the small differences between operators are where a smooth routine can wobble. Every network runs the same physics, the same connectors, and the same six-step flow, but each has its own map, its own way of starting a session, its own pricing, and its own account. One operator wants you in its app scanning a QR code on the stall, another takes a contactless tap with no account at all, a third leans on an RFID card it mailed you when you signed up, and a fourth starts the session through plug and charge the instant your car is connected. None of this changes what you do at the cable; it changes what you do in the thirty seconds before the electrons flow.
The practical way to handle the spread is to prepare for the networks you will actually meet rather than all of them. Look at the stations along your regular routes and your next planned trip, note which one or two operators own most of them, and set those apps up at home: account created, payment card stored, notifications on. Keep a contactless credit card as the universal fallback for everything else, since tap-to-pay is the closest thing public charging has to a common language and more stations support it every year. If your car offers plug and charge, spend the one-time setup to enable it on the networks that support your model, because it quietly removes the entire authentication step on those stalls.
Expect the details to differ once the session runs, too. Networks price differently, per kilowatt-hour in most places, per minute in some, with idle fees that vary in both trigger and size, and some offer member rates that undercut the guest price on the same stall. The station screen or app states the terms before you commit, so the habit that transfers across every operator is the same one from step five: read the rate, confirm the session started, and know what ends it. Treat each new network as the same routine wearing a different jacket and the plural stops being intimidating.
Where you will find public EV chargers day to day
Public EV chargers cluster in two very different kinds of places, and recognizing which kind you are looking at tells you instantly how to use it. The first kind lives where cars sit for hours: workplace lots, hotels, shopping centers, gyms, curbside spots near apartments. These are overwhelmingly public Level 2 stations, the same 240 volt technology as a home unit, adding an illustrative 25 to 40 miles of range per hour. Our Level 2 charger teardown covers that hardware in full, and the way to use it in public is exactly what step two prescribes: plug in when you arrive, let the car sip for the length of the errand, the shift, or the night, and collect the range as a byproduct of parking. Nobody stands and waits at these, and etiquette is gentler since a car occupying a Level 2 stall for hours is the design, not a violation.
The second kind lives where drivers are passing through: highway rest hubs, travel plazas, big retail pads near interchanges, dense urban fast-charging sites. These are DC fast stations, built for the 20 to 40 minute stop, priced accordingly, and governed by the fuel-stop etiquette from step six, charge to about 80 percent and clear the stall. The two kinds are not interchangeable: a Level 2 stall cannot rescue a road trip on a schedule, and paying fast-charging rates for energy an overnight Level 2 stop would have added anyway is money left on the table, a trade our public charging cost teardown prices out.
The habit that emerges is opportunistic layering. Default to home or workplace charging for the base load, catch free or cheap Level 2 wherever your day already parks the car, a tactic our free charging teardown turns into a system, and reserve DC fast for the stops where time genuinely matters. Once you read locations this way, the map of public EV chargers stops looking like a scatter of pins and starts looking like two tools with two jobs.
The public-charging checklist
The whole routine, in the order it should happen.
- Know your connector and accept rate before you go. J1772 or NACS for AC, CCS1 or NACS or CHAdeMO for DC fast, plus any adapter your routes need.
- Have a way to pay ready. A contactless card or phone at minimum, and the one or two network apps for your routes installed and logged in.
- Find a station by app or car map, filtered by connector and live availability. Favor multi-stall sites, and keep a backup in mind on a critical leg.
- Match the station to your stop. DC fast when you wait on the car, public Level 2 when the car waits on you.
- Park so the cable reaches without blocking a neighbor, shift to park, and seat the connector until it clicks.
- Start the session and confirm power is flowing by tap, app, RFID, or plug and charge, before you walk away.
- Charge to your target, usually about 80 percent on a busy fast charger, and watch for idle fees.
- Stop the session, unplug, holster the cable, and clear the stall for the next driver.
A minute of preparation, a few minutes at the stall, and a coffee break’s worth of charging: public charging is a routine, not an ordeal, once the six steps are muscle memory.
The bottom line
Using a public EV charger is a six-step routine that turns an unfamiliar screen into a plug-in-and-go stop. Find a compatible station with an app or your car’s map, match its level and connector to your car and your stop, park and seat the connector until it clicks, start the session by tap, app, RFID, or plug and charge and confirm power is flowing, monitor the charge and let the per-kWh billing settle, then unplug, holster the cable, and clear the stall. The two facts that make it smooth are knowing your car’s connector and accept rate before you leave, and treating a fast charger as a fuel stop rather than a parking space by charging to about 80 percent and moving on. Every figure here is illustrative and varies by car, network, and region, so confirm your own car’s plug and the pricing on the screen, run your session through the companion, and lean on our charging reference and public charging cost teardown to turn the routine into your own numbers.
This teardown is educational and independent, written by EV enthusiasts, not by any automaker, charging network, or connector body. Every charging speed, range figure, time, and price above is illustrative and shifts with your specific vehicle and its accept rate, the individual station and network, the battery’s temperature and state of charge, and your region. The NACS transition is ongoing, so connector compatibility, adapter availability, network access, and pricing are all changing: confirm what your own car supports and the rate shown on the station screen before you rely on any detail here, and consult your vehicle and network documentation for the specifics of your car.
Frequently asked questions
How do you use a public EV charger?
In outline, you find a station, match it to your car, plug in, start the session, and pay, usually in under a minute of actual fiddling once you have done it once. You locate a compatible charger with a charging app or your car's built-in map, drive to it, and park so the cable reaches your charge port. You open the port, seat the connector until it clicks, then authenticate the session by tapping a card, scanning a QR code in the network's app, or letting the car identify itself through plug and charge. The station meters the energy, you charge to your target, and you unplug and drive off. The whole flow is illustrative and varies by network, but the sequence is the same everywhere.
Do I need an app to use a public EV charger?
Often but not always, and the trend is toward needing fewer of them. Many networks let you start a session and pay by tapping a contactless credit card or phone directly at the stall, no account required, which is the simplest path for an occasional user. Others still route you through the network's own app, where you scan the stall's code or select it on a map to begin. It is worth installing the one or two apps that cover the networks on your usual routes ahead of time, since creating an account in a parking lot with a low battery is the stressful version. For a first session, a station that accepts contactless tap is the friendliest place to start.
How do you pay at a public EV charging station?
Payment is handled one of a few ways, and the station's screen or the app tells you which. The most universal is a contactless tap of a credit card or phone at the reader, exactly like paying at a store, which many newer stations support without any account. Network apps store a card on file and charge it automatically when the session ends, and some networks sell an RFID membership card you tap to the reader. Billing is usually per kilowatt-hour of energy delivered, though some places bill per minute or add an idle fee if you leave the car parked after charging finishes. Confirm the pricing shown before you start, since public rates are illustrative and vary widely by network and region.
What connector do I need for a public EV charger?
It depends on your car, and this is the single most important thing to check before you rely on a station. For everyday AC charging, most non-Tesla cars use the J1772 connector, while Tesla and a growing list of newer models use NACS. For DC fast charging, older non-Tesla cars use CCS1, newer cars increasingly use NACS, and some legacy cars use CHAdeMO. During the ongoing NACS transition, adapters bridge many of these, so a CCS1 car can reach many NACS stalls with a NACS adapter and vice versa. Our EV charging reference maps every connector in detail, and the practical rule is to know your car's port and carry whatever adapter your routes require.
Is a public charger Level 2 or DC fast charging?
Public stations come in both, and knowing which you are at sets your expectations for time. Public Level 2 stations run on 240 volt AC at roughly 7 to 19.2 kilowatts and add an illustrative 25 to 40 miles of range per hour, which suits a long stop at a workplace, a mall, or a hotel where the car sits for hours. DC fast charging runs at roughly 50 to 350 kilowatts and can add 150 or more miles in about 20 to 40 minutes, which is the road-trip and quick-top-up option. Match the station type to how long your stop actually is: DC fast for a rest break, Level 2 for a park-and-do-something-else stop. A faster stall only helps up to your car's accept rate.
How long does it take to charge at a public station?
On DC fast charging, a common 10 to 80 percent top-up runs an illustrative 20 to 40 minutes, because charging speed tapers as the battery fills and the last stretch above 80 percent is slow. On public Level 2, the same energy takes hours, which is why Level 2 stations are for long stops rather than quick ones. The exact time is the energy you need to add divided by the lower of the station's power and your car's accept rate, so a car that peaks at 100 kilowatts gains nothing from a 350 kilowatt stall beyond 100. Cold batteries also charge slower until they warm. The companion on this page times your own battery and target against the stall you pick.
What is plug and charge at an EV station?
Plug and charge is a standard that lets your car identify and authorize itself to the station the moment you plug in, so no card, app, or tap is needed. The vehicle and the charger exchange credentials over the cable, the network recognizes your pre-registered account, and the session simply starts. When it works, it is the smoothest public charging experience there is: you park, plug in, and walk away. Support depends on your car, the network, and a one-time account setup, and it is expanding but not universal, so it is worth enabling where your car and networks support it while keeping a card or app as a backup for stations that do not.
Are all public EV chargers the same?
No, and the differences are exactly what the six steps are built around. Public EV chargers differ on three axes: the level, meaning public Level 2 at roughly 7 to 19.2 kilowatts for long stops versus DC fast at roughly 50 to 350 kilowatts for quick ones; the connector, meaning J1772 or NACS for AC and CCS1, NACS, or legacy CHAdeMO for DC; and the operator, since each network has its own pricing, app, and way of starting a session. Two stalls that look identical can bill differently and start differently. The routine, find, match, plug, start, pay, unplug, is the same everywhere, which is why learning it once covers every combination you will meet.
What is proper etiquette at a public EV charger?
The core rule is to treat a fast charger as a fuel stop, not a parking spot: charge to what you need, usually about 80 percent where the taper slows things, then move your car so the stall is free for the next driver. Do not unplug someone else's charging car unless the network explicitly allows it and the car is clearly finished. Pull in so your cable reaches without blocking the neighboring stall, do not idle in a charging space when you are not charging, and coil the cable back on the holster when you leave so it does not sit on the ground. On a busy corridor, topping to 100 percent while others wait is the main habit to avoid, since the slow final stretch holds up the queue for little added range.