What's in this teardown
- Before you start: what you need on hand
- Step 1: Decide between Level 1 and Level 2
- Step 2: Check your electrical panel capacity
- Step 3: Choose the charger
- Step 4: Plan the location and the circuit
- Step 5: Get permits and hire a licensed electrician
- Step 6: Install, inspect, and set it up
- Charging speed by charger level, on one chart
- A worked example: adding a Level 2 charger
- Common mistakes to avoid
- Troubleshooting: full panels, long runs, and rentals
- The install checklist
- Where the install money goes
- A worked example: the running cost after install
- After the install: maintaining the charger
- Planning ahead: a second EV or a future move
- The bottom line
Short answer: Installing a home EV charger takes six steps: choose Level 1 or Level 2, check the panel, choose the charger, plan the location and circuit, get a permit and hire a licensed electrician, then install and set up off-peak charging. Level 1 from a standard outlet adds roughly 3 to 5 miles per hour; Level 2 adds 20 to 40 and refills anything overnight. The 240 volt wiring is not a DIY job.
The best feature of an electric car is not the acceleration or the silence; it is leaving home every morning with a full battery, from a fuel pump you own, at the cheapest rates your utility sells. Our EV ownership math leaned on home charging as the economic engine of the whole proposition, and this teardown is the build manual for that engine: six ordered steps that take you from “should I charge at Level 1 or 2” to a permitted, inspected wall unit charging off-peak.
Read it as a planning walkthrough, not a wire-it-yourself project. The decisions here are yours to make, the level, the amperage, the location, the spec, the quotes, and making them well is where the money and the safety live. The actual high-voltage wiring is not a homeowner job: a Level 2 charger is a new 240 volt circuit carrying one of the largest continuous loads in the house, and that work must be done by a licensed electrician and, in nearly all jurisdictions, permitted and inspected. Do the planning, then hand a clean written spec to a professional. For what the electricity itself will cost once it is running, see our home charging cost teardown.
Key takeaways
- The six steps in order: choose Level 1 vs 2, check the panel, choose the charger, plan the location and circuit, permit and hire an electrician, then install and set it up.
- Level 1 (standard outlet) adds roughly 3 to 5 miles per hour and genuinely covers low-mileage drivers; Level 2 adds 20 to 40 and refills anything overnight.
- Cost is mostly labor and wire run: a panel near the garage might be a few hundred dollars, a long run or tight panel pushes $1,500 to $3,000, and a panel upgrade is its own project.
- The wiring is not a DIY step: a licensed electrician does the 240 volt work, and a permit plus inspection protects the house, your insurance, and the next buyer.
- Size the amperage to your driving, not the spec sheet, and schedule charging off-peak: 40 to 48 amps suits most homes, and time-of-use rates are where the real savings live.
Before you start: what you need on hand
Gather three things before step one, because every decision downstream leans on them. First, your EV’s onboard AC charging limit, the number in the spec sheet that caps how fast the car accepts alternating-current charging no matter how big the wall unit is; it is commonly somewhere between 7.7 and 11.5 kilowatts, and buying amperage above it is money spent on a ceiling the car ignores. Second, honest access to your electrical panel: its service rating (the main breaker usually reads 100, 150, or 200 amps), whether it has open breaker slots, and a rough sense of the big loads already on it (electric range, dryer, heat, air conditioning). Third, your real parking spot and the path from it back to the panel, because the distance between those two points is the single biggest cost variable in the whole project.
Two more inputs sharpen the plan. Log about two weeks of daily driving miles, since that number decides Level 1 versus Level 2 before anything else does. And check your utility’s website for time-of-use or EV-specific rate plans and any charger or wiring rebates, because those change both the running cost and the install budget.
Realistic timeline and difficulty: the planning is a few evenings of reading and phone calls, the electrician’s visit is usually a single day, and the whole arc from decision to inspected install commonly runs one to two weeks, most of it spent waiting on quotes and scheduling. Difficulty for you is low, it is paperwork and choices; difficulty for the wiring is exactly why a licensed electrician does that part. Run the numbers as you go with our calculator.
Step 1: Decide between Level 1 and Level 2
Start with the cheapest possible question: do you need Level 2 at all? Charging levels sound technical and are really about your mornings. Level 1 is the cord in the trunk plugged into a standard grounded household outlet, roughly 1.4 kilowatts, adding about 3 to 5 miles of range per hour, 35 to 55 miles over a long night, at an installation cost of exactly zero. Level 2 is a 240 volt circuit, the dryer’s voltage, feeding a wall unit at anywhere from about 7 to 11.5 kilowatts, adding roughly 20 to 40 miles per hour and refilling nearly any battery from nearly empty overnight. (Level 3, DC fast charging, is road-trip infrastructure and does not install in houses; its per-mile cost got audited in our public charging teardown.)
Now apply the only test that matters. Take the hours your car sits parked at home overnight, multiply by the level’s miles-per-hour, and ask whether the result covers your daily miles with margin. A driver averaging 30 daily miles with reliable overnight parking never actually needs more than Level 1’s overnight refill, and a meaningful minority of EV owners run exactly this way, spending nothing. Level 2 buys margin: the heavy-errand day recovered in two hours instead of a day and a half, the unexpected trip absorbed, the second EV sharing the plug, the winter preheating done without raiding range.
The caveat: decide honestly, because this choice sizes every later step. Overspecifying here is how people end up paying for a 60 amp circuit their commute never uses. Run Level 1 for a month if your miles are modest; the meter will tell you whether the bigger install buys anything your life actually needs. If it does, the rest of this teardown is Level 2 territory. Our Level 2 charger explainer unpacks the tier itself, what the box actually does, real speeds, and the onboard-charger cap, and see how long charging really takes before you commit.
Step 2: Check your electrical panel capacity
Every install question descends from one box, so open it before you shop. A Level 2 charger is among the largest loads in a house, and it runs continuously for hours, which electrical code treats specially: continuous loads get sized with a safety margin, so a 48 amp charger wants a 60 amp circuit, a 40 amp charger a 50. The panel must supply that circuit twice over, physically (open slots for a double-pole breaker) and in capacity (enough headroom in the service rating above everything else the house draws at once).
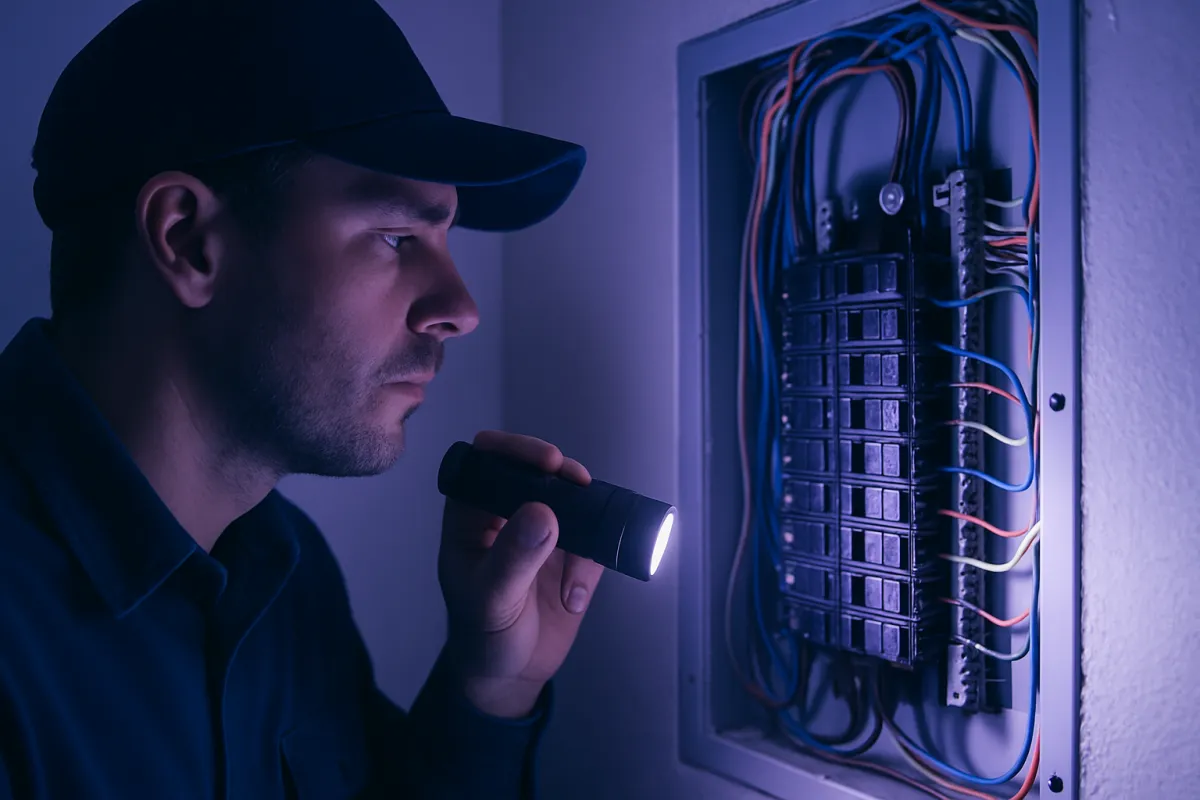
An electrician answers this with a load calculation, a standardized worksheet of your home’s demands run in minutes, and it is the single most valuable step to buy before any hardware. Typical outcomes: a 200 amp service without electric heating usually hosts a full-size charger easily; a 100 amp service already feeding an electric range, dryer, and heat may have no honest room.
When the answer is tight, the modern escape hatches matter, because the old default, a panel upgrade costing illustratively $2,000 to $4,000 or more, is no longer automatic. A smaller charger on a smaller circuit often serves overnight needs identically, and load-management devices, which pause the charger while the dryer or range runs, let a large charger legally share capacity a static calculation would deny. The caveat: do not eyeball this or trust a spec-sheet promise. A load calculation is cheap insurance against discovering mid-install that the real project was your panel all along. Panel first; everything else is shopping.
Step 3: Choose the charger
With the panel’s ceiling known, shop the unit against it, not against the marketing. Charger sellers push amps the way truck ads push towing, and the same skepticism applies. The lineup runs from portable 16 amp units through the common 32, 40, and 48 amp wall units to 80 amp flagships, translating to roughly 12, 25, 30, 35, and 50-plus miles of range per hour before the car’s onboard limit truncates the top for many models. Apply the overnight test again: at 40 amps, about 30 miles per hour, an eight-hour night restores 240 miles, effectively any battery from any realistic daily state. The 80 amp unit finishing at 2 a.m. instead of 5 a.m. changes nothing about your morning while demanding a 100 amp circuit few panels can spare.
Next, hardwired or plug-in. Hardwiring lands the conductors directly in the unit: it supports higher amperages, removes a connection point that can loosen and heat, and satisfies outdoor-rating rules. Plug-in uses a heavy 240 volt NEMA 14-50 receptacle and buys portability (take the unit at moving day) and easy replacement. If you plug in, one component outranks the charger brand: the receptacle. Continuous 40 amp draw for hours is the harshest duty a residential receptacle sees, and budget units have a documented record of overheating; specify an industrial-grade receptacle and say “EV duty” out loud when quoting.
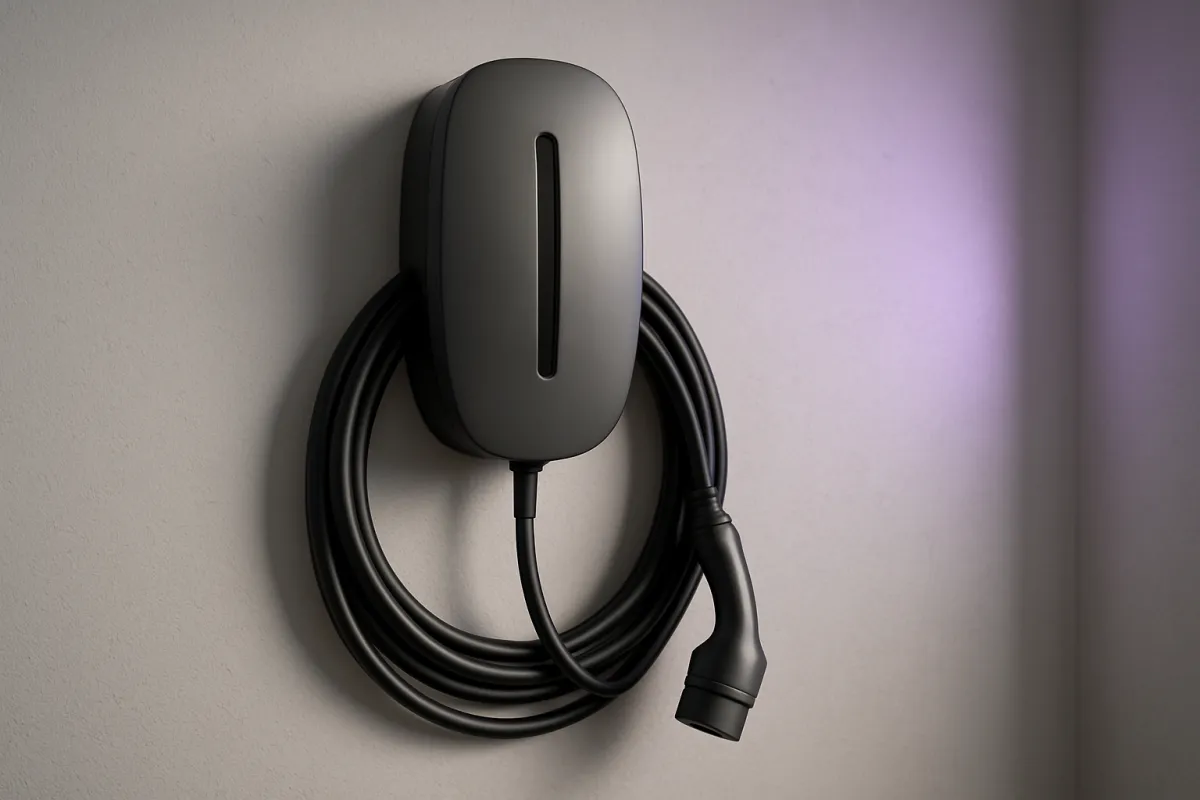
On smart features, pay for the earners and shrug at the rest: scheduling, energy metering, and load management touch your rate schedule or panel math; voice hooks and RGB status lights do not. Buy the smallest amperage the car and panel can honestly use, and spend the savings on the wire run in the next step.
Step 4: Plan the location and the circuit
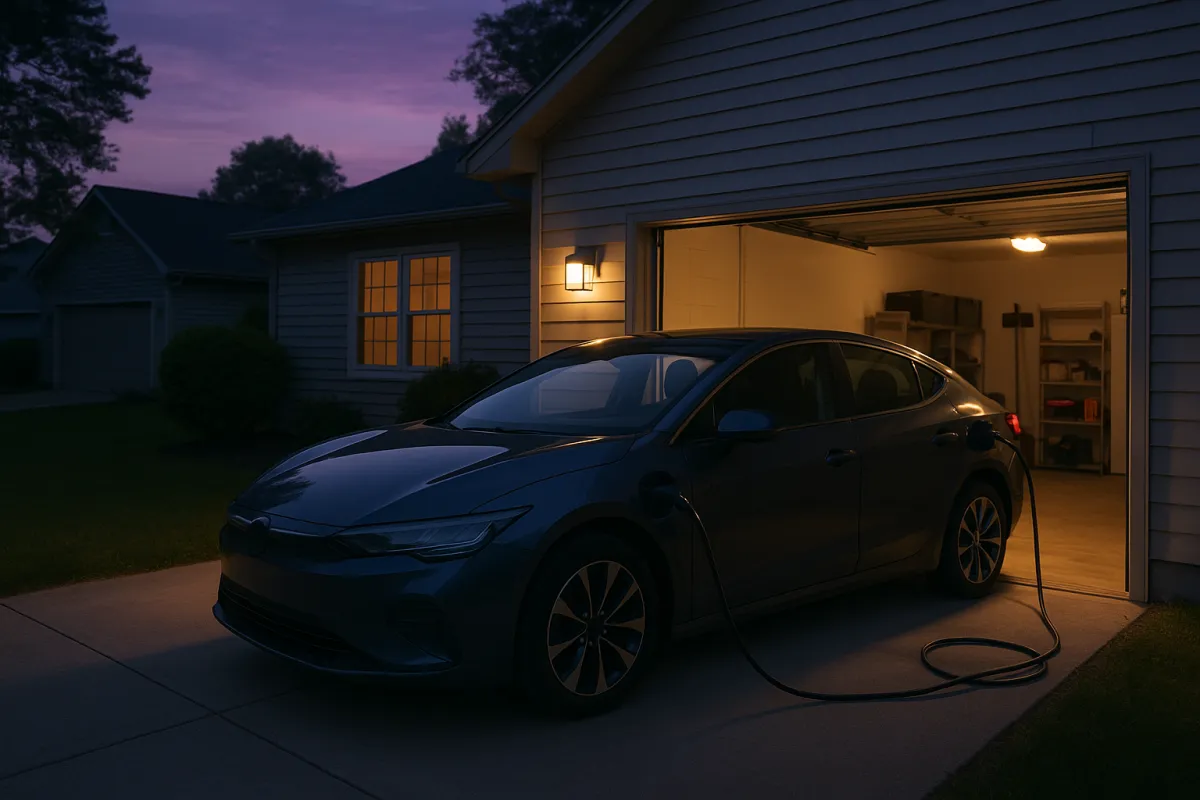
Now fix where the unit lives and how the wire gets there, because that route is the cost. Mount the charger where its cable reaches the car’s charge port in your normal parking position with slack to spare, remembering that a future car may wear its port on the opposite side; a spot visible from the driver’s seat is a bonus, since a glowing connector you can see is a charge you never forget to start. Then trace the path back to the panel, because distance is destiny: a panel sharing a wall with the parking spot might cost a few hundred dollars all-in, while a run across the house, through finished walls, or out to a detached pad climbs steadily toward $1,500 to $3,000.
The circuit itself is a 240 volt, two-pole run sized to the charger you chose in step three, at 125 percent of its draw for the continuous load. This is where the NEMA 14-50 versus hardwired decision becomes physical: a plug-in setup terminates in that industrial-grade receptacle near the mount, while a hardwired unit takes the conductors straight in, often allowing a slightly higher amperage on the same wire.
Plan the route now, but do not run any of it yourself: mapping the path, measuring the one-way distance, and marking the mount are homeowner tasks, while pulling the cable, landing the breaker, and terminating the receptacle are the electrician’s. The caveat that saves rework: measure the true one-way wire distance (not the straight line, the path the cable actually takes) and write it into your spec, because a vague location invites pad-the-scope quoting. Feed that distance into the calculator for an illustrative range before the first quote arrives.
Step 5: Get permits and hire a licensed electrician
This is the step you do not skip and do not DIY, and it is worth being blunt about why. A new 240 volt circuit for a large continuous load is squarely permit territory in most jurisdictions, and the permit exists because the inspection catches the wire-gauge, breaker-sizing, and grounding errors that quietly turn into heat behind a wall. The permit fee is small against the electrician’s labor, the electrician typically files it, and the downside of skipping is asymmetric: an unpermitted circuit implicated in a fire is both a safety failure and an insurance argument you never want to have.
Hire a licensed electrician for the wiring, full stop. This teardown equips you to plan the job, not to perform it. The homeowner’s role is the spec (amperage, location, hardwired or industrial-grade receptacle), the quotes, the permit question asked out loud, and the load calculation insisted upon. The electrician’s role is everything with voltage in it, because this project sits on decades of fire-safety code that a licensed pro reads as routine and a first-timer does not. The DIY savings on the wiring are small; the stakes are not.
Get two or three quotes on one identical written spec, because labor pricing for the same job varies widely and a vague spec invites scope inflation. Confirm the electrician is licensed and insured, that they pull the permit, and that the quote names the receptacle grade if you went plug-in. The caveat: cheapest is not the goal, code-correct and inspected is. And before you sign, sweep for utility rebates, tax credits, and EV rate plans, which routinely return several hundred dollars and occasionally most of the project; the utility’s website and the electrician both know the local list.
Step 6: Install, inspect, and set it up
Install day is quieter than a dishwasher delivery, which is the point of every planning step before it. A typical single-day job runs: main power handled safely, the new double-pole breaker landed, the cable pulled from panel to charger location (through basement or attic where easy, in surface conduit where not, the hours-long middle of the day and the reason distance dominated the quote), the receptacle or hardwire connection made at the wall, and the unit mounted and torqued to spec, because loose lugs under continuous load are precisely the failure the torque check prevents. Then power on, a commissioning charge with your car or a test load, and the paperwork for inspection.
Your part is small and front-loaded: clear the wall and the route the day before, have the car home for commissioning if you can, ask for the torque check and the receptacle grade by name if you went plug-in (good electricians smile at informed clients), and photograph the open-wall work before any patching, a habit that pays at resale and every future project. Do not skip the inspection: schedule it, be present if required, and file the signed permit with the house documents.
Then set it up, which is where the savings begin. Enroll in your utility’s time-of-use or EV plan if the overnight math wins, it usually does for EV households, and set the charging schedule once in the car or the charger so current flows at the off-peak window from night one. Illustratively, 1,000 miles a month at 30 kWh per 100 miles is 300 kWh: about $45 at a 15 cent flat rate, about $24 at an 8 cent overnight rate, a $250-a-year difference for ten minutes of enrollment. See our monthly cost teardown for where that line sits in the whole budget.
Charging speed by charger level, on one chart
Every option above reduces to one axis, miles of range added per hour, and seeing them together settles most sizing debates on sight.
Charging speed by charger level
Illustrative range added per hour; the car's onboard AC limit caps wall-unit speeds.
Multiply any row by eight sleeping hours and the middle of the chart already refills more battery than most cars hold: past 40 to 48 amps, extra speed mostly finishes a job that was already going to be done by morning.
The chart also frames the only honest upgrade triggers. Move up from Level 1 when your overnight hours times its row stops covering your daily miles with margin. Move up within Level 2 only when a real pattern, high daily mileage, midday turnarounds, two cars on one unit, uses hours the smaller row cannot serve. Read the top row skeptically: it demands the panel of a small workshop and exceeds most cars’ onboard limits.
A worked example: adding a Level 2 charger
Walk one illustrative home through all six steps with numbers. Priya drives about 40 miles on a typical day, parks in an attached garage every night, and has recently bought an EV whose onboard AC limit is 11 kilowatts. Step one: her 40 daily miles would technically survive on Level 1’s overnight refill, but with a long-commute day most weeks and a partner’s car joining next year, she chooses Level 2 for the margin. Step two: an electrician’s load calculation on her 200 amp service, gas heat and gas range, shows comfortable headroom and two open slots, so no panel upgrade.
Step three: she skips the 80 amp flagship (her car could not use it and her panel would strain) and picks a 48 amp hardwired unit with scheduling and energy metering, which at 125 percent needs a 60 amp circuit. Step four: the garage panel sits on the opposite wall from her parking spot, a measured one-way run of about 35 feet through an unfinished garage ceiling, so conduit rather than fished walls, a moderate but not punishing distance. Step five: she writes the spec (48 amp, hardwired, that location, permitted), collects three quotes, and finds a $900 spread on identical work; she picks the licensed, insured mid-quote and confirms the permit is included, then claims a $500 utility rebate.
Step six: a one-day install, a passed inspection, and a schedule set to her 11 p.m. to 7 a.m. off-peak window. Her all-in range lands illustratively around $1,200 to $1,900 (roughly $650 hardware, the rest labor and permit, minus the rebate), well under the panel-upgrade nightmare because step two cleared her early. The lesson: the number stayed reasonable because the panel had room and the run was short, the two variables steps two and four exist to surface.
Common mistakes to avoid
The failure modes on this project are almost never electrons; they are decisions made out of order. These are the ones that get expensive.
- DIYing the high-voltage wiring. A 240 volt continuous-load circuit is licensed-electrician, permitted work. Homeowner-run charger wiring is a documented fire and insurance risk, and the labor you save is small against the stakes.
- Skipping the load calculation. Buying the charger before the panel is checked is how people discover mid-install that the real project is a $2,000-plus service upgrade. The worksheet is cheap; the surprise is not.
- Undersized wire or an under-rated receptacle. A “50 amp charger on a 50 amp breaker” ignores the 125 percent continuous-load rule, and a budget dryer receptacle under nightly EV duty is a known overheating point. Size the circuit up and specify industrial-grade.
- Pulling no permit. It saves almost nothing (labor dominates) and converts any future fault into both a safety and an insurance problem, plus a headache at resale.
- Ignoring utility rebates and off-peak rates. Rebates routinely cover a real slice of the install, and off-peak scheduling can halve the running cost; leaving both on the table is money given away for nothing.
- Buying amperage the car cannot use. An 80 amp unit above the car’s onboard limit charges no faster while demanding a panel most homes cannot spare.
Troubleshooting: full panels, long runs, and rentals
What if your panel is full? A tight or slotless panel does not force the old $2,000-to-$4,000 upgrade. A smaller-amperage charger on a smaller circuit often refills overnight identically, and a load-management device that pauses the charger while the range or dryer runs lets a big charger legally share capacity a static calculation would deny. Ask the electrician to price load management against a service upgrade before assuming the expensive path.
What if the parking spot is a long way from the panel? Distance is the cost, so attack it: a subpanel closer to the garage can shorten the heavy run, surface conduit across an unfinished space is far cheaper than fishing finished walls, and sometimes relocating the mount a few feet lands a much easier route. Get the distance-driven portion itemized so you can see what the run is actually costing.
What if you rent? Do not run unpermitted wiring in a home you do not own. The Level 1 strategy carries many renters with zero installation, and a conversation with the landlord framed around property value (a 240 volt circuit is a durable improvement) sometimes yields a cost split. In condos and apartments with assigned parking, right-to-charge laws in a growing list of jurisdictions oblige associations to permit owner-funded installs under reasonable conditions; the path runs through the board, in writing.
What if the house is older? Older homes may pair a 100 amp service with electric heat, range, and dryer, which is exactly the case where the load calculation earns its fee. It may still fit a modest charger with load management, but it is also the scenario where a service upgrade is genuinely warranted, so budget for the possibility rather than being surprised by it.
The install checklist
The whole project, in the order it should happen.
- Log two weeks of real driving. Daily miles decide Level 1 versus 2, and amperage after that.
- Load calculation first. An electrician’s worksheet on your panel: capacity, slots, and whether load management beats an upgrade.
- Check the car’s AC limit. The onboard charger caps wall speed; buy amperage the car can actually use.
- Spec it in writing. Amperage, exact location, hardwired or industrial-grade NEMA 14-50, and the measured one-way wire distance.
- Two or three quotes on that identical spec. Licensed and insured, permit included, receptacle grade named.
- Permit on, licensed electrician on the tools, inspection done. The paperwork is cheap and the asymmetry is not.
- Sweep rebates before scheduling. Utility, tax, and EV-plan incentives routinely cover a meaningful slice.
- Mount for the port, schedule for the rates. Cable reaches with slack; charging runs off-peak from night one.
An afternoon of paper, a day of professional wiring, and the cheapest fuel pump you will ever own hangs on your wall.
Where the install money goes
Knowing how a quote decomposes makes you a better buyer of it. The unit is a minority of a typical bill; the electrician’s labor and the wire run are the mountain, which is why two or three bids on one spec is the highest-yield move in the project.
Where a home EV charger install cost goes
Illustrative typical Level 2 installation, moderate wire run, no panel upgrade.
A required panel upgrade sits outside this bar as its own line, illustratively $2,000 to $4,000, which is why step two exists: clearing the panel early keeps the whole project inside the friendly range.
If the panel needs work, that upgrade is a separate project stacked on top, not a slice of this bar. It is the single item most likely to move a $1,500 job to a $4,000 one, and the only step that can rule it out in advance is the load calculation.
A worked example: the running cost after install
The install is a one-time cost, but the reason you paid it is the cheap fuel that follows, so it helps to price a full month of home charging illustratively. Take a driver covering 1,000 miles in a month in an EV that uses roughly 30 kilowatt-hours per 100 miles. That is about 300 kilowatt-hours of charging for the month. At an illustrative flat rate of 15 cents per kilowatt-hour, the month costs about 45 dollars. On an illustrative off-peak rate of 8 cents, set by the schedule you configured in step six, the same 300 kilowatt-hours costs about 24 dollars, a difference of roughly 250 dollars a year for a one-time enrollment and a schedule set once.
Put that against the install. If the job landed in an illustrative 1,200 to 1,900 dollar range with no panel upgrade, the off-peak savings against peak-rate charging, plus the fuel gap against a gas car, are what pay it back over the months you drive. This is why the two decisions that most shape the project, the panel check in step two and the wire run in step four, matter so much: they keep the one-time number small while the running savings do their slow work. Price your own month against your utility’s rates in our calculator, and see where charging sits in the wider budget in our monthly cost teardown.
After the install: maintaining the charger
A home charger is close to maintenance-free, but a few light habits keep it safe and working for the years it should last. Once or twice a year, look and listen: check the plug or hardwire connection area for any discoloration, a warm smell, or a loose feel, since heat at a connection is the one failure mode worth catching early, especially on a plug-in unit using a receptacle. Keep the connector and its holster clean and dry, and inspect the cable for cuts or cracks, particularly if it lies across a driveway where a tire can roll over it.
Beyond that, the charger mostly looks after itself. If yours is a smart unit, the occasional firmware update it prompts for is worth accepting, since those often improve scheduling or safety behavior. If you ever notice the unit charging slower than it should, the cause is usually the car’s onboard limit, a cold battery, or the car’s own charge settings rather than the charger, so check those before assuming a fault. And if anything about the wiring, the breaker, or a persistent warm connection concerns you, that is electrician territory again, not a homeowner fix, for exactly the reasons the install itself was. Treated with these light checks, the wall unit outlasts the car parked under it.
Planning ahead: a second EV or a future move
Two forward-looking cases are worth a moment at planning time, because a small decision now saves a larger one later. First, a second EV. If a household might add a second electric car within the life of this install, it is worth mentioning to the electrician while the panel is open, since a slightly larger circuit, a load-management setup, or simply confirming the panel has room for a future second charger is far cheaper to plan now than to retrofit. Two cars sharing one unit on a schedule works for many households, and load management can let both charge without a panel upgrade.
Second, moving house. A hardwired charger stays with the home as a fixture, which can be a modest selling point, while a plug-in unit on an industrial-grade receptacle can travel with you, leaving the receptacle behind for the next owner to use. Neither is right or wrong, but knowing which you prefer can tip the hardwired-versus-plug-in choice in step three. If you expect to move soon and want the unit to come along, plug-in has the edge; if this is a long-term home, hardwired is the cleaner permanent answer. Either way, the wiring itself is a durable improvement that a future EV owner will value, which is worth remembering when weighing the cost.
The bottom line
A home charger install is a small, solved project whose failure modes are all decisions, not electrons: the wrong level chosen in haste, amperage bought for vanity, a panel discovered late, a receptacle bought for price, a permit skipped for nothing, and rates left at peak by default. Run the six steps in order, level, panel, charger, location and circuit, permit and electrician, install and setup, and the result is the quiet machine the ownership math promised: every morning full, at the cheapest rates sold, from hardware that outlasts the car. Price your own version with our calculator, give Level 1 its honest month if your miles are modest, and remember the one line that never bends: you plan it, a licensed electrician wires it.
We love this stuff, but we are enthusiasts, not your electrician. Treat everything above as educational and general: the costs, charging speeds, capacities, and savings are illustrative figures that shift with your home, your car, your utility, and your region. This teardown is a planning walkthrough, not authorization to perform electrical work yourself. All 240 volt wiring must be carried out by a licensed electrician under the proper permit and inspection, so verify requirements with your local authority and confirm any rebate or incentive with your utility and tax jurisdiction before you count on it.
Frequently asked questions
Can I install a home EV charger myself?
You can do all of the planning yourself, and you should: the level choice, the load calculation, the amperage, the location, and the shopping are the homeowner's job. The high-voltage wiring is not. A Level 2 charger runs on a new 240 volt circuit carrying a large continuous load, which is exactly the work that must be done by a licensed electrician and, in most places, permitted and inspected. This teardown is a planning walkthrough, not a wire-it-yourself guide.
Do I really need a Level 2 charger at home?
Need, often no; want, almost certainly. Level 1 charging from a standard outlet adds roughly 3 to 5 miles of range per hour, enough for short commutes with overnight parking, while Level 2 adds around 20 to 40, refilling almost any EV overnight from nearly empty. Drivers with modest daily miles genuinely live fine on Level 1; everyone else finds Level 2 is the difference between owning an EV and negotiating with one.
How much does a Level 2 charger installation cost?
Illustratively: the charging unit itself commonly runs $300 to $700, and installation ranges from a few hundred dollars for a simple job, panel near the garage, spare capacity, short wire run, to $1,500 to $3,000 or more when the run is long or the panel needs work, and higher still if a panel upgrade is required. Distance from panel to parking spot is the biggest single cost variable, and quotes vary enough that getting two or three is worth real money.
Can my electrical panel handle an EV charger?
A load calculation answers it, and an electrician runs one quickly: the charger is a large continuous load, commonly on a 40 to 60 amp circuit, and the panel needs both physical space for the breaker and headroom in its overall capacity. Many homes with 200 amp service accommodate one easily; older 100 amp services with electric heat, range, and dryer may not. If capacity is tight, a smaller-amperage charger or a load-management device often avoids a full panel upgrade.
Should my EV charger be hardwired or plug-in?
Hardwired is the cleaner long-term answer for most garages: it supports higher amperage, eliminates the receptacle as a failure point, and is required for some outdoor-rated setups. Plug-in, using a heavy 240 volt NEMA 14-50 receptacle, wins on portability, take the unit when you move, and easy replacement. If you go plug-in, insist on a high-quality industrial-grade receptacle: budget receptacles under continuous EV load are a documented overheating point.
Do I need a permit to install an EV charger?
In most jurisdictions, yes, a new 240 volt circuit for a large continuous load is exactly the work electrical permits exist for. Permitted work gets inspected, keeps your insurance clean, and documents the install for resale. Licensed electricians typically handle the paperwork as part of the job. Skipping the permit saves little, since the electrician's labor dominates the cost, and it converts any future problem into both a safety and an insurance question.
How many amps should my home EV charger be?
The practical sweet spot for most homes is a 40 or 48 amp charger on an appropriately larger circuit, adding roughly 25 to 35 miles of range per hour, which refills nearly any battery overnight. Chasing maximum amperage pays off less than people expect: overnight is overnight, and a 32 amp unit on a smaller circuit often serves identical real-world needs while fitting panels a 60 amp circuit would not. Size to your driving, panel, and car's onboard limit, not the spec sheet's maximum.
Will an EV charger raise my electric bill a lot?
It raises it by roughly what your driving costs in electricity: a typical EV consumes around 30 kWh per 100 miles, so 1,000 monthly miles adds about 300 kWh, illustratively $30 to $60 at common rates. Time-of-use plans change the math substantially, charging overnight at off-peak rates can cut the cost sharply, and most chargers and cars schedule this automatically. Home charging remains far cheaper per mile than public fast charging or gasoline in most markets.